Least Bittern, Part Two
This is part two of a two-part article. The first part appeared in the Summer 2013 issue.

Glenn McMurdo’s interest in decoy carving began in 1985. Since then Glenn, now a master carver, has written numerous how-to articles and has judged carving competitions from coast to coast across Canada and the United States. His most recent Workbench Project is Green-Winged Teal Pair. Castings of the author’s award-winning, competition-grade carvings are available. Contact Glenn at mcmudocarvings@sympatico.ca or by phone at (905) 372-5821.
Technically, “painting” is merely the application of colored pigments to a surface to add color, with the use of water, resins, or oils as media that make the pigment adhere to the finished surface. When you paint a wildfowl carving, though, and do it well, you add more than pigment—you add the appearance of life itself.
In the previous issue I demonstrated how to carve a least bittern. This time I’m going to explain how to paint it so the finished carving possesses the same subtle hues that allow the real bitterns to blend so wonderfully into their marshy environment.
Read the rest of this article in Wildfowl Carving Magazine's Fall 2013 issue.
Least Bittern Demonstration
For a closer look at each step, please click on the image to enlarge.
Step-by-step painting
-
You must put down a base coat before you paint. In this case the base coat is acrylic paints that approximate the sculpture’s finished colors. Where two or more colors meet, blend them while they are still wet to create softness between them. With a dry bush, first stipple the area where the colors meet and then draw the brush through the area to eliminate any mottled or messy spots and achieve a soft blend. Make sure you don’t blend the area too far or too much or it will get muddy. If your paint is the proper consistency, when the colors touch they should start to bleed together, not run on the surface like water. There are some areas on this sculpture that are not blended. One example is the area along the wing and the belly/side of the bird.
Base coats:
(1) Top of head, cape, and scapulars: Burnt umber darkened with ultramarine blue to a dark brown (sepia).
(2) Primaries, wings, and upper rump: Use the dark value from (1) and lighten with raw sienna.
(3) Wing, lesser coverts, and cheek: Use yellow ochre lightened with white.
(4) Back of head, upper cheek, line above eye back onto lower area of cheek onto outside of neck feathers, greater wing coverts into tertials: Use burnt sienna lightened with yellow ochre.
(5) Breast, lower belly, lower rump: Use warm white tinted slightly with yellow ochre.
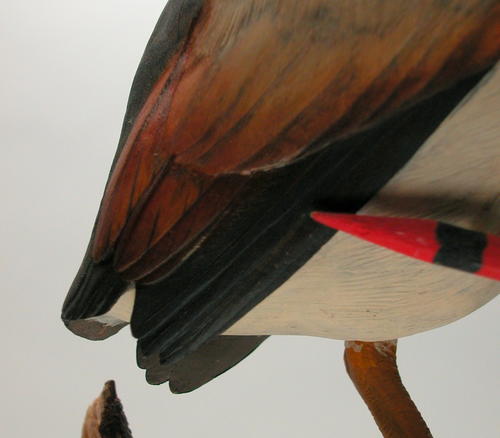
(6) Lower surface of wings and lower surface of tail: Use a medium value of warm gray, lighten color mixes in (1) with white.
(7) Legs and bill: Lighten raw sienna with white. -
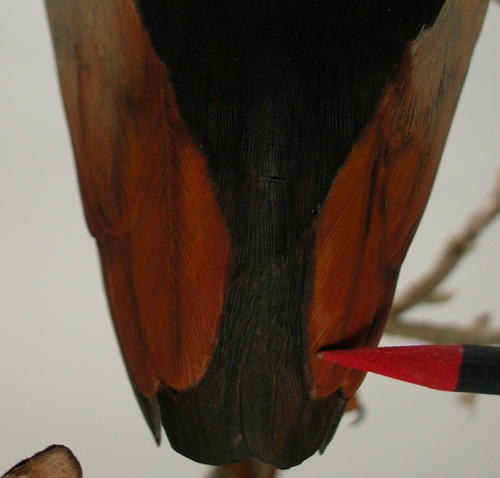
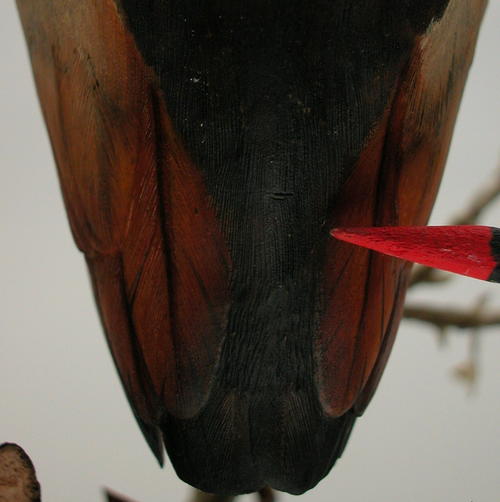
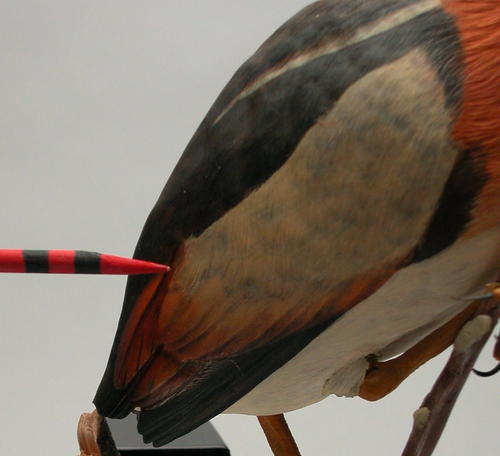
For the tail, primaries, and upper rump, use a mixture of burnt umber and ultramarine blue mixed to a very dark brown (sepia) color. With an airbrush and a masking template, apply a narrow band of paint along the outside markings of each feather, and then use burnt umber/gloss medium to paint the quills.
-
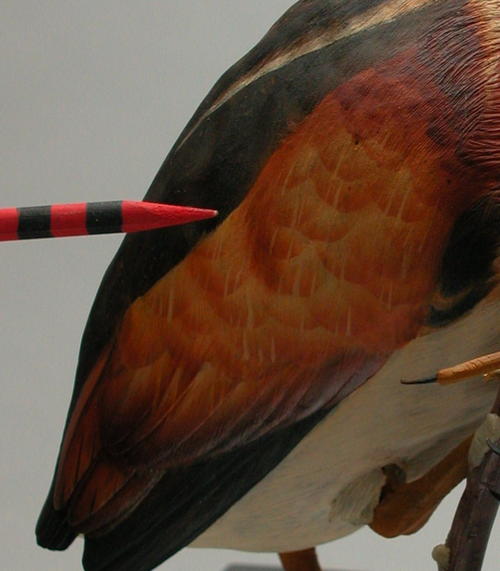
This photo shows the completed tertial feathers. The tertials have an array of colors within each feather. The base color is quinacridone gold lightened with yellow ochre and a second value of quinacridone gold darkened with burnt umber. Apply the lighter value to the entire feather, let it dry, and then airbrush the darker value along the margin of each feather, creating depth and softness. Paint the quills using quinacridone gold/burnt umber/gloss medium. Paint the splits with burnt umber.
-
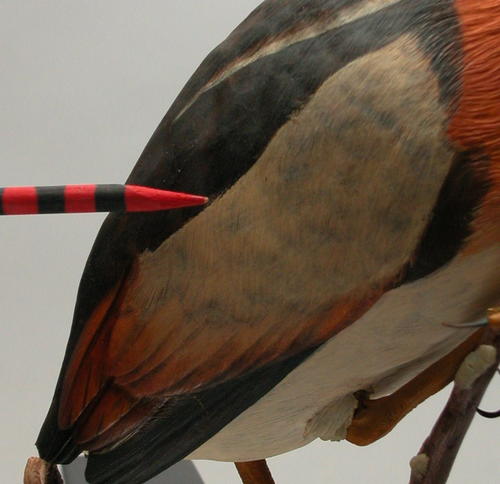
Each feather of the greater wing coverts has a darker margin and tip with a lighter interior color. The darker value is quinacridone gold/burnt umber. Blend it into the lighter color, which is a mixture of yellow ochre lightened with warm white. Use the lighter value to paint some splits through the margin of the feathers to make them look more realistic.
-
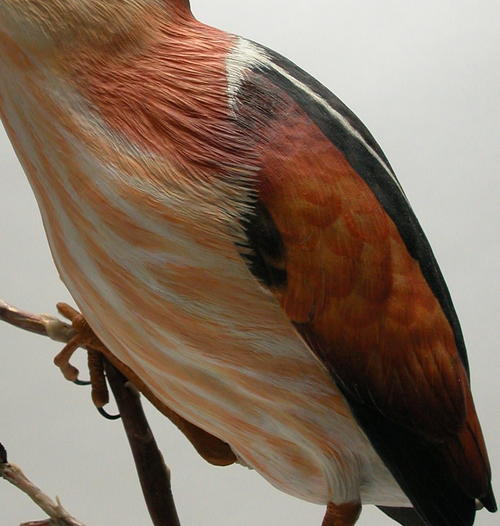
The medium and lesser wing coverts are lighter overall than the greater wing coverts. The tip of each of these feathers has a darker reddish value than the lighter interior. The lighter value is a mixture of yellow ochre/warm white/quinacridone gold. At the tip of each feather, use a mixture of quinacridone gold darkened slightly with burnt umber.
-
This photo shows the completed wing coverts and tertial areas.
-
I have base coated the scapular and cape areas.
-
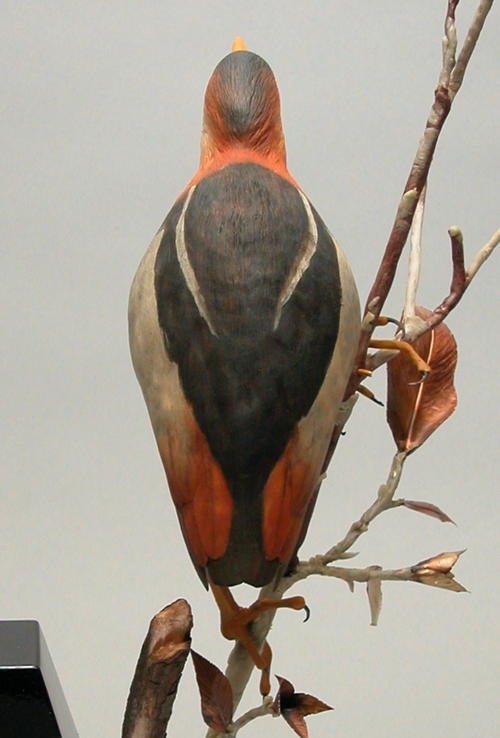
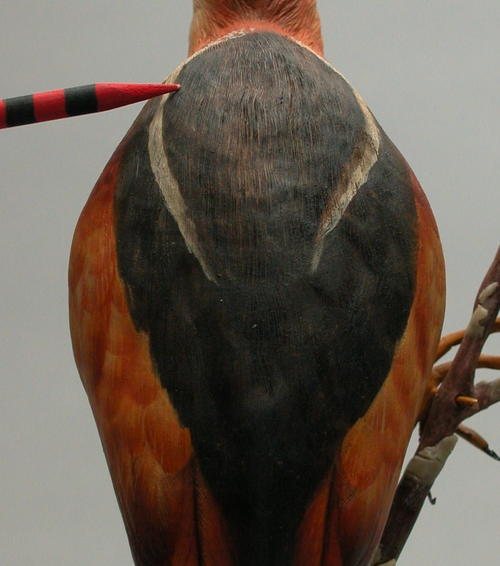
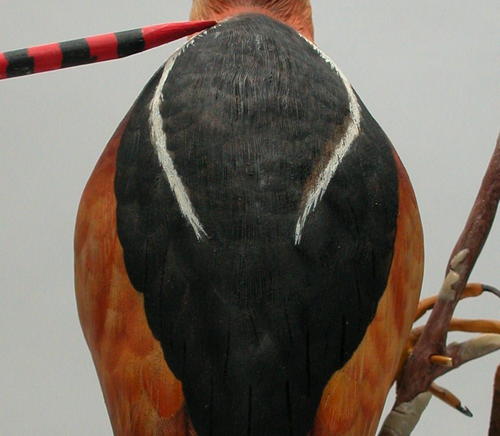
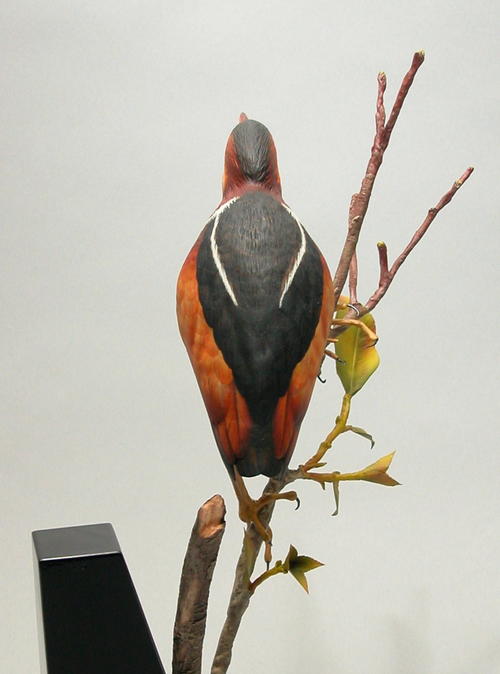
I’ve completed the scapular and cape feathers using carbon black along the margin and tip of each feather. I painted the white bars with warm white.
-
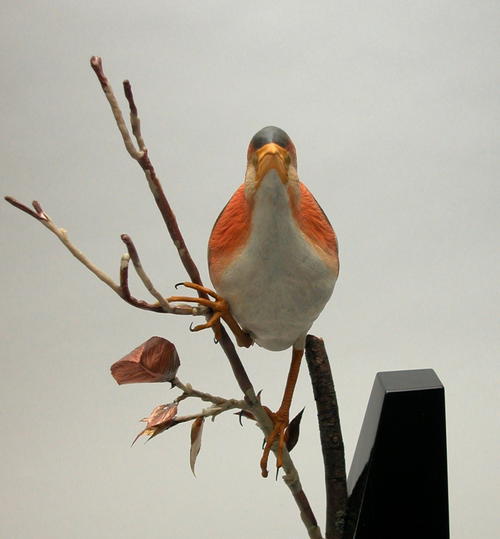
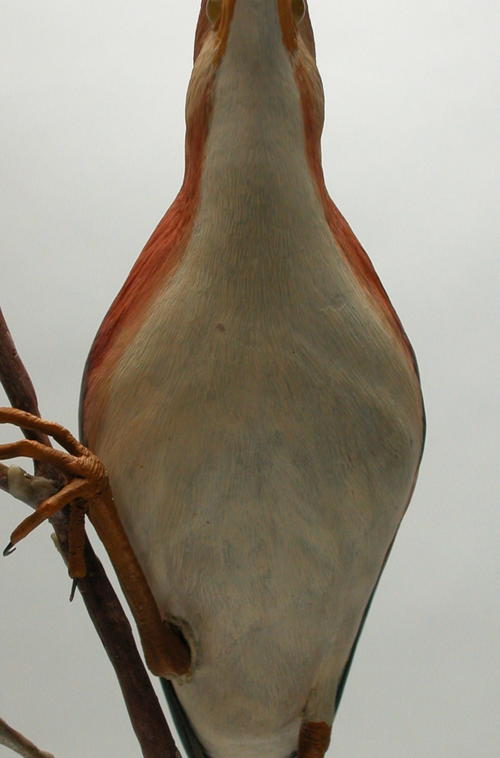
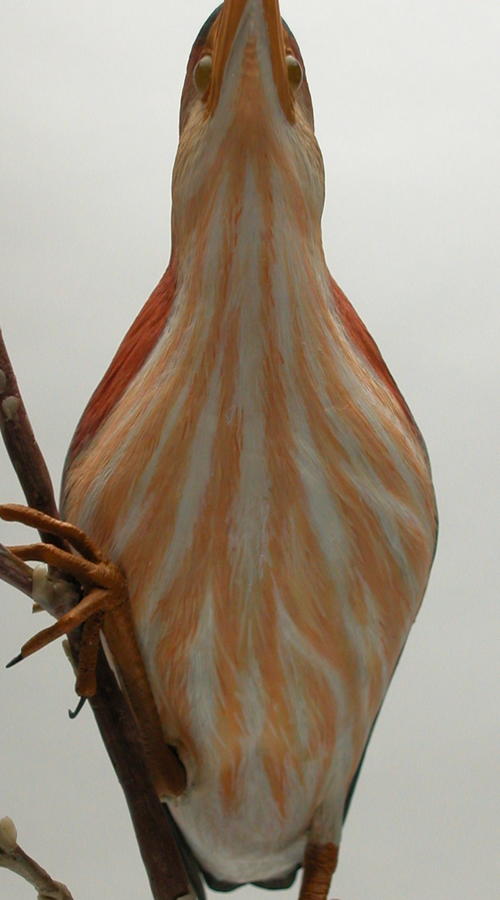
The areas of the lower chin, breast, belly, and lower rump have a soft, fluffy appearance with a vertical pattern of color radiating from the lower chin down toward the legs, where it terminates. The lower rump/coverts are a solid color of warm white tinted with yellow ochre. Use warm white under the chin and along the belly. The vertical pattern is a mixture of warm white/raw sienna/quinacridone gold. Finish the area with warm white and the vertical pattern color to paint the detail along the pattern. Study your reference material closely for this area to get the pattern correct.
-
This is how the head looks with the base coats applied.
-
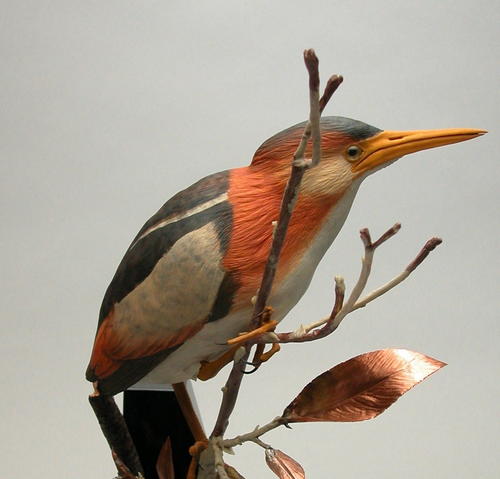
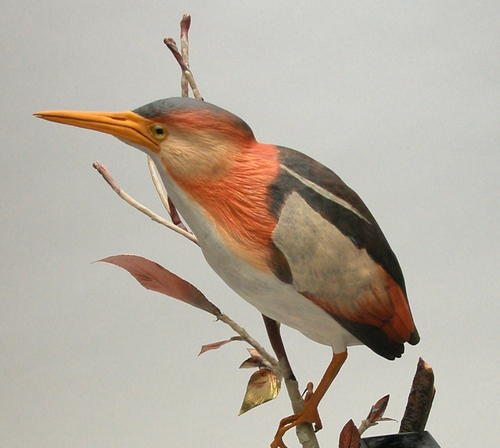
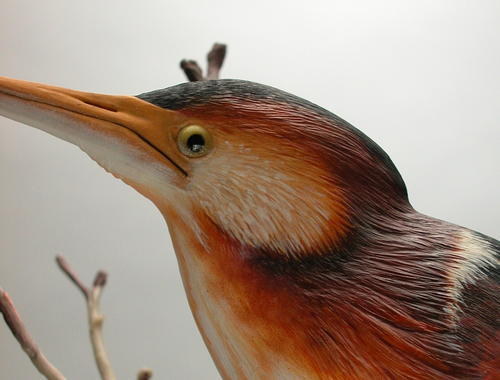
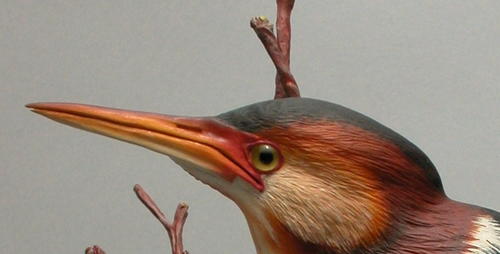
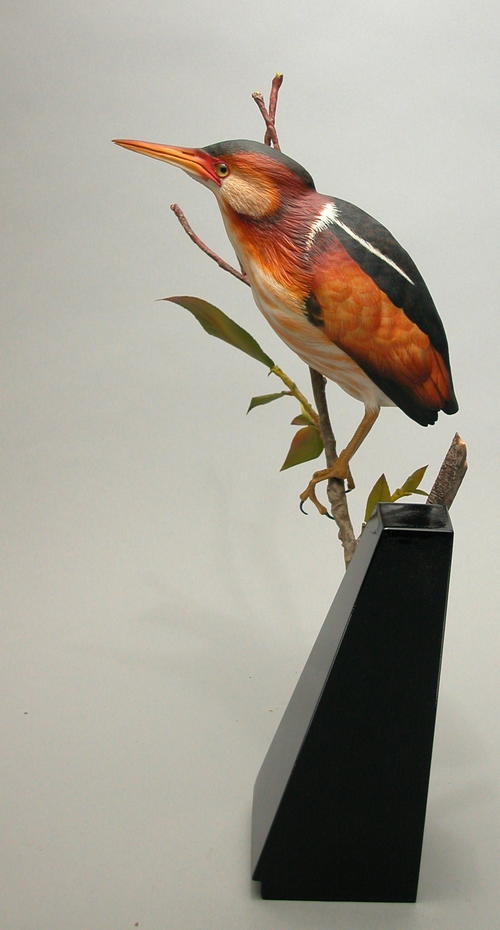
The finished head has four distinct color values. The crown is very dark. Paint the tip of each feather over the base color, using black to accent individual feathers. The back of the head, down onto the back, the lower cheek, and surrounding the wing areas is a dark, rich brown value, made by darkening quinacridone gold with burnt umber. The side of the crown down onto the neck/breast area is a lighter reddish value of quinacridone gold. The cheek area is the lightest. Use a mixture of warm white, yellow ochre, and quinacridone gold. Complete this area by feathering out the cheek area color onto the darker surroundings using the lightest value. Then pull some of the crown, neck, and breast area colors through the surrounding areas to create softness and help break up the cheek/head areas and define some individual feathers. Keep the painted detail clean and crisp so you don’t muddy the finished area.
The bill is basically yellow ochre. Near the eye at the base of the bill, there is a red color of naphthol crimson tinted with ultramarine blue and then lightened with white. The bill’s top saddle is darker—use burnt umber. The lower mandible is a light white value of warm white tinted with yellow ochre. After the paint has dried, apply 2-3 applications of matte medium, allowing each coat one day to dry before adding the next. If the bill doesn’t have enough shine after the finish has dried completely, you can buff up the surface with a clean ball of cotton batten. -
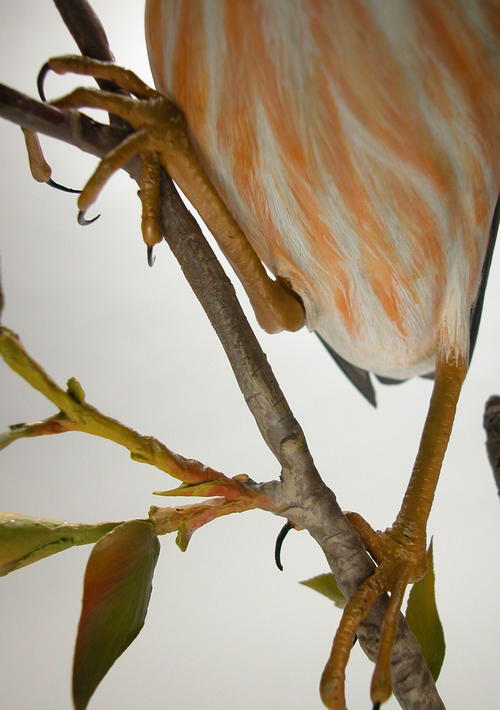
Paint the legs with yellow ochre, and then apply a thin, watery, and transparent wash of a Hooker’s green/yellow ochre mix. Apply this to the front of the legs and top of the toes and let the watery wash run down into the dips and ridges to create some depth and detail. Paint the toenails with burnt umber/gloss medium to give them a dark, glossy look. Then apply matte medium to the rest of the leg.
-
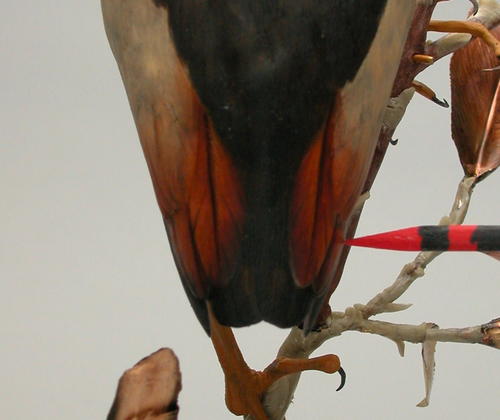
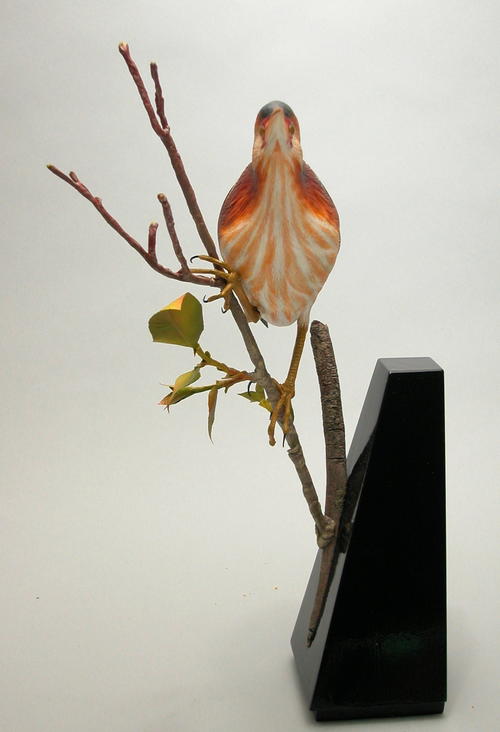
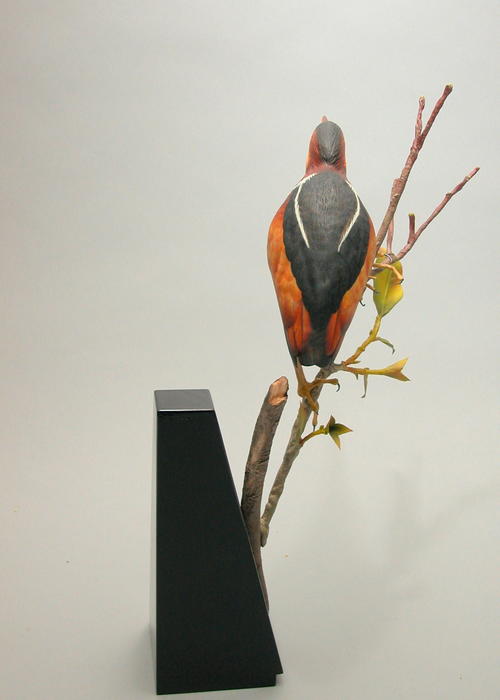
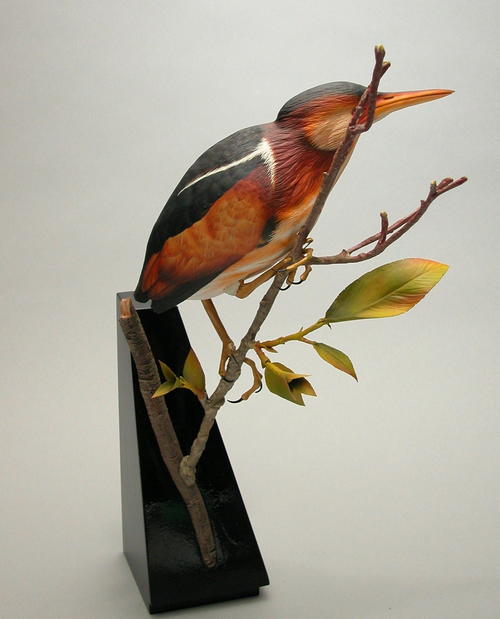
Here’s the finished bird.