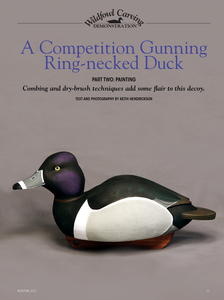
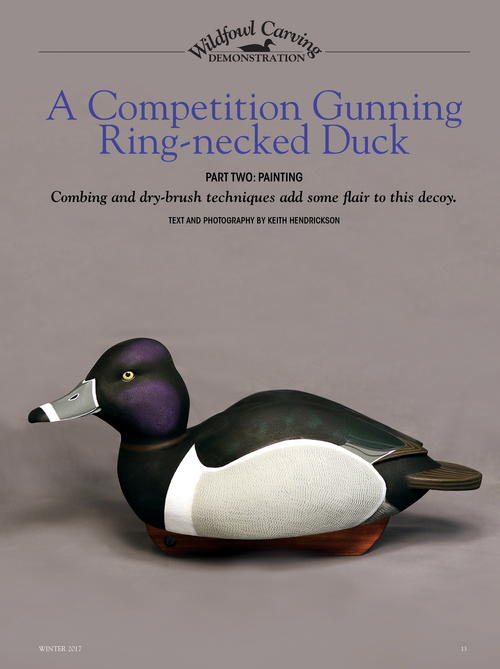
A Competition Gunning Ring-necked Duck Part Two: Painting
Combing and dry-brush techniques add some flair to this decoy.
Keith Hendrickson is a freelance writer/ artist/photographer who also works for the North Carolina Wildlife Resources Commission. He has been carving rough working decoys for around 30 years and won best of show at the Ward Museum’s Chesapeake Challenge. Patrick Bearden started carving decoys seriously in 2012 and has won numerous blue ribbons and best in shows since then.
In the Fall 2016 issue, we saw how Patrick Bearden makes most of his gunning decoys when he demonstrated his carving of a swimming ring-neck drake. The article ended with Patrick filling the neck and body joints and doing a final sanding of the entire decoy. This part starts with Patrick priming the bird and then laying down a texture layer that will include vermiculated/combed side pockets. The final paint layers will include some neat drybrush work.
After the final sanding, Patrick applies a couple coats of Minwax Helmsman Satin Spar Urethane to the entire decoy to seal it. He lets the first coat dry thoroughly and then sands lightly before applying the second coat. Once that has dried, Patrick lightly sands the bottom and then coats it and the keel with epoxy. He then floats the decoy and weights the keel appropriately. (Having the keel attached to the decoy at this point gives Patrick a handle to hold while painting.) He next applies two coats of neutral gray Rust-Oleum 2X Ultra Cover primer, again lightly sanding between coats. He allows the primer to dry and cure for a day or two and then uses his fingernail to scrape off any excess primer that gets on the bottom epoxy.
To texture the decoy, you will need a couple of small pieces of foam sponge material. Patrick uses a small square of foam furniture cushion (ask about them at a reupholstering shop). The air pockets in this foam give a nice fine texture to the modeling paste as you apply it. You will also need a fine texture comb, available through the Jaymes Company. Patrick uses Liquitex Modeling Paste and colors it with a small dab of Golden black gesso. The gesso gives the paste some tooth to which additional paint layers can stick. For lighter colors, he uses white gesso and the appropriate color of acrylic paint.
This article is from the Winter 2017 issue. For more information on our issues, check out our issues page.