
The Great Horned Owl in Miniature - Carving
Part One: Carving
Al Jordan lives in Rochester, New York, where he is a master falconer. He was the North American shorebird champion in 2008 and the IWCA Shorebird Champion in 2010. Al is also an instructor and judge and the author of WILDFOWL CARVING MAGAZINE’S Half-Size Osprey Workbench Project. Learn about Al’s classes and one-on-one instruction at (585) 227-2235, www.ajordanbirds.com, or by email at ajordanbirds@yahoo.com.
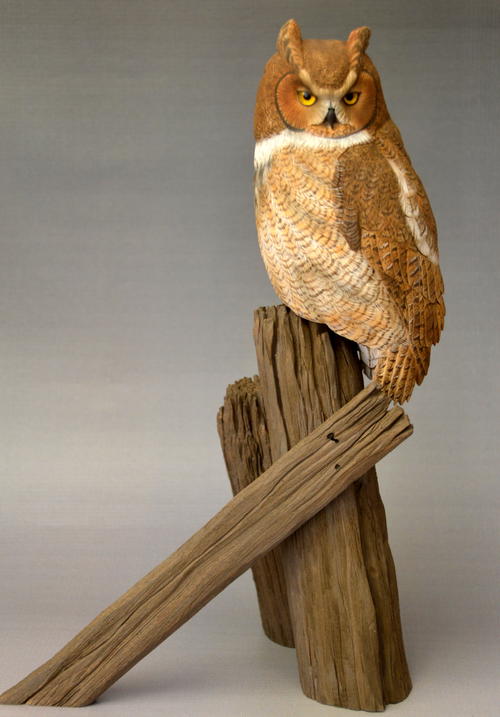
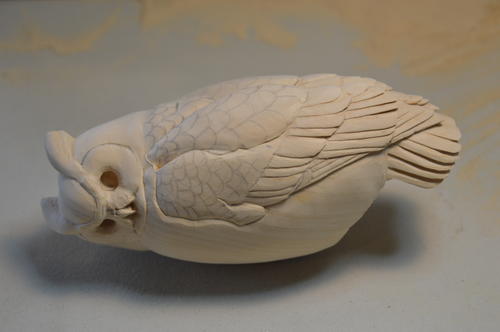
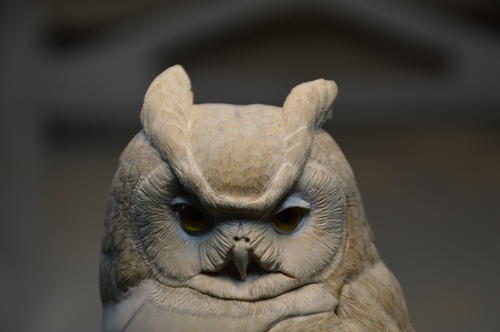
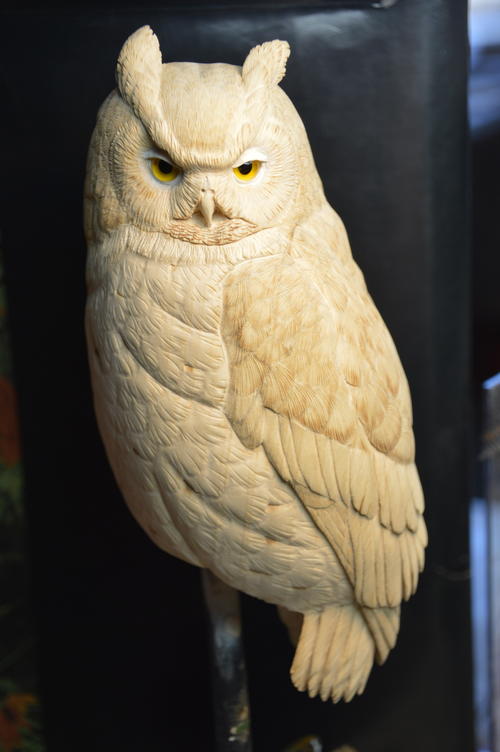
Carvers seem to like owls. I can understand why. There is something about the intense stillness of an owl that lends itself to compelling carvings. Maybe people just like to stare back at them. With their big eyes and distinctive facial disks, owls are truly interesting-looking birds, and the great horned owl is one of the most impressive of them all. It is a big bird—with a wingspan of around 44 inches and a weight of three pounds—and it is well adapted to hunting at night. The big eyes—which give the owl an air of solemn intelligence—help the owl spot its prey in the darkness, while the ear tufts and facial disk serve as sound-direction aids, helping the owl pinpoint its target by listening for it. Although the carving I demonstrate here is a miniature, you can easily follow these directions to carve a life-size bird.
Instructions
Click each photo for an enlarged view.
-
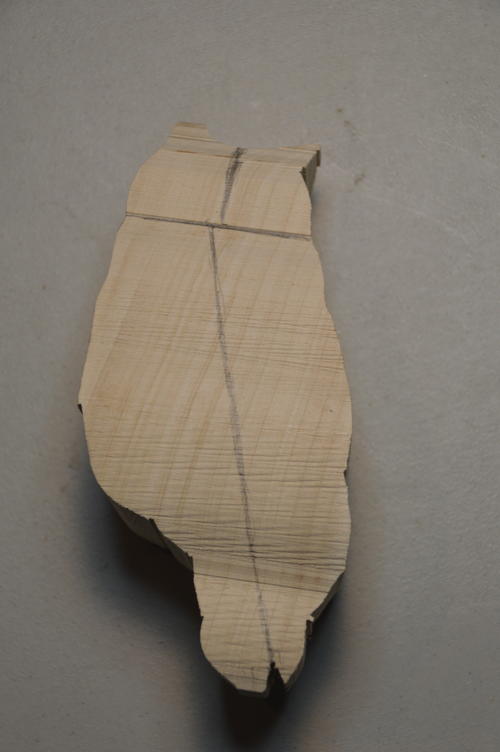
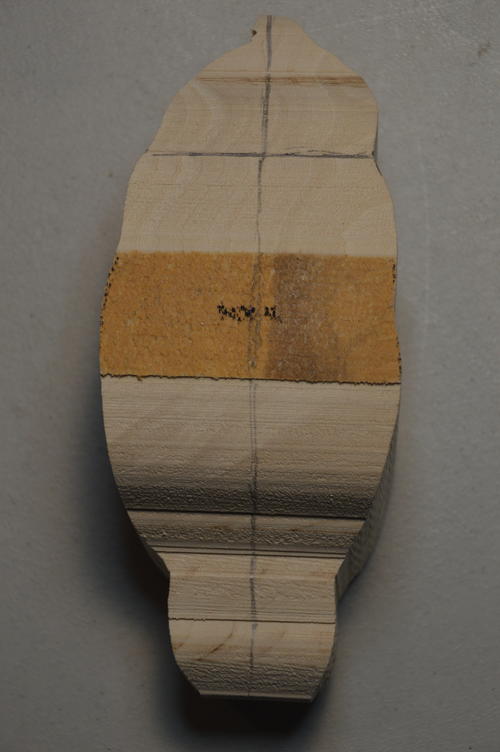
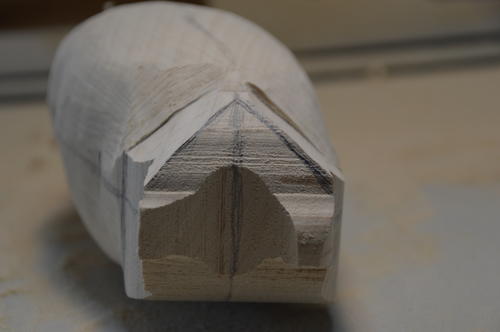
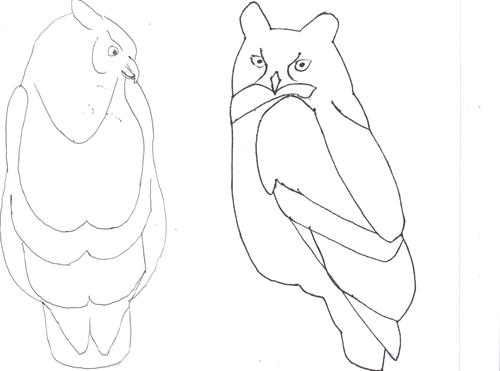
At left is the profile view of the cutout, with the all-important center lines drawn on. At right is the front view.
-
I’ve begun rounding, using a coarse sanding drum. Be careful not to remove wood from the tail at this point.
-
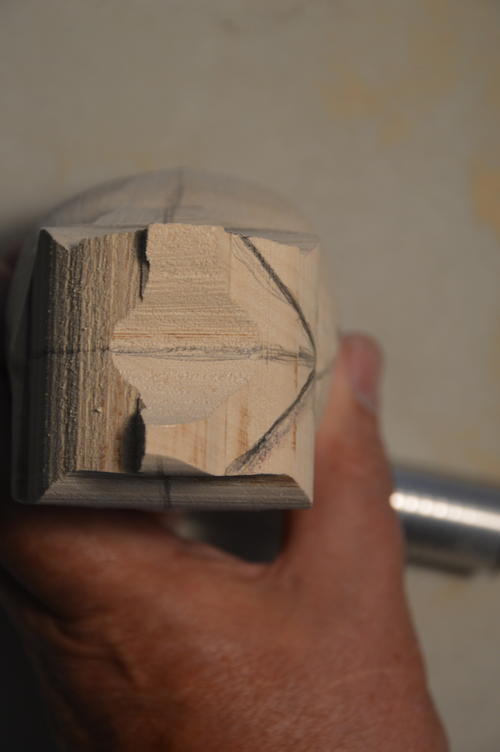
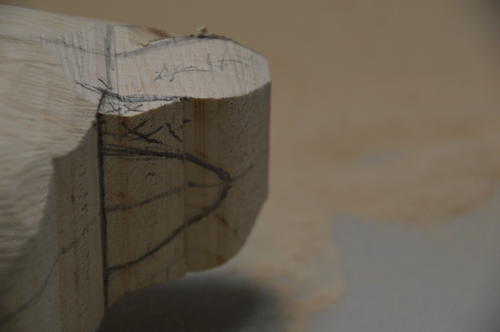
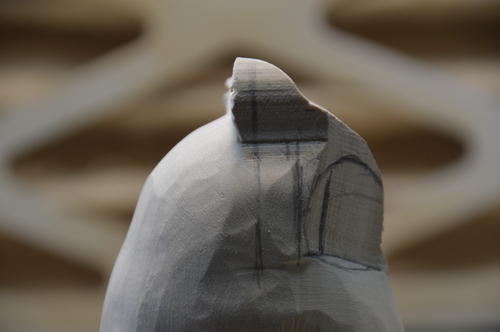
Looking down at the top of the head, you can see the facial edges I’ve drawn at a 90-degree angle.
-
Still using the coarse sanding drum, I have removed wood from the face.
-
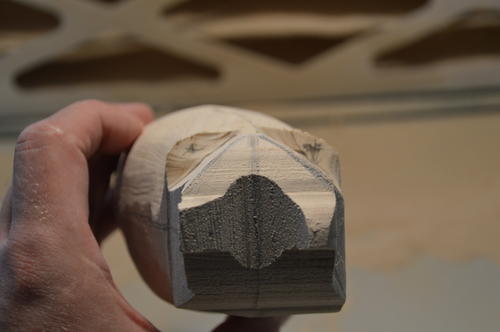
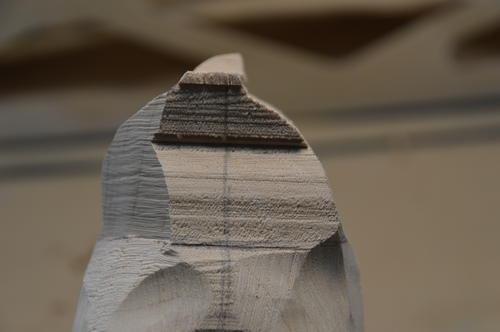
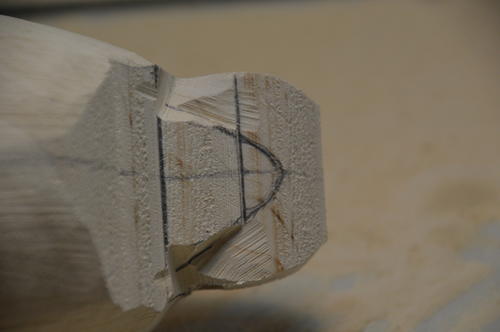
These three shots show the head from the profile, front, and top after I’ve made the 90-degree face cut.
-
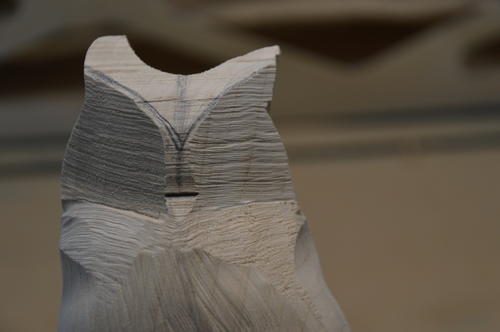
Looking at the under-tail and covert areas, you can see where I’ve indicated the wood that I will remove.
-
I’m still using the coarse sanding drum, which is a great tool for removing wood. I’ve sanded away the areas indicated in the previous photo.
-
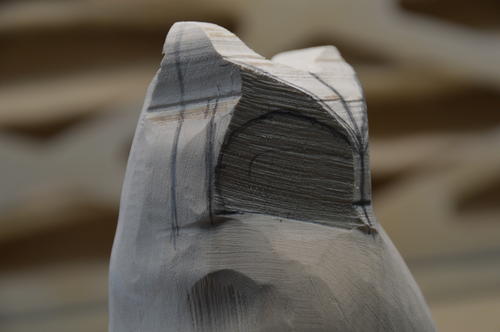
Back to the head. I’ve sketched on the facial disk, as well as a centerline.
-
Now I’ve switched to a fine sanding mandrel to round off the back of the head, seen here from the back and profile.
-
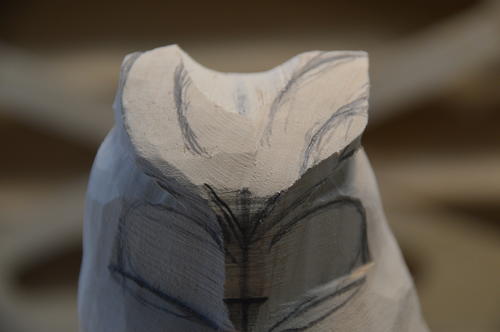
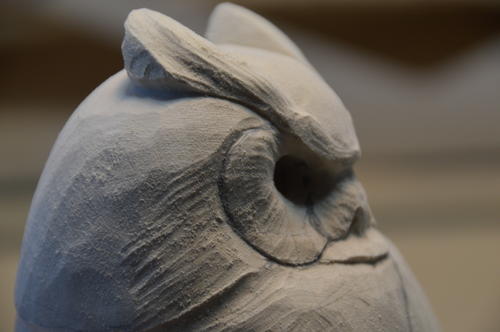
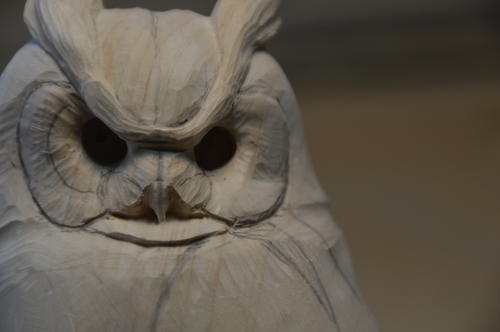
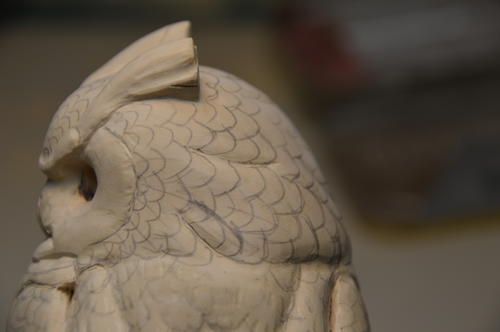
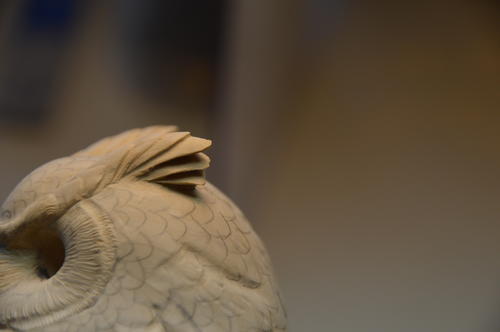
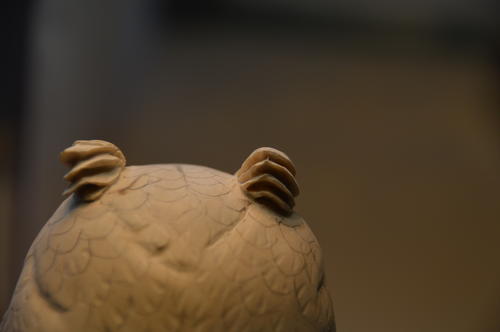
The owl has such a distinctive face, and it’s important to pay close attention here. I’ve sketched on the facial disk and the ear tufts. Note that both ear tufts are flowing in the same direction. I’ve done this to introduce the external force of the wind into the finished project.
-
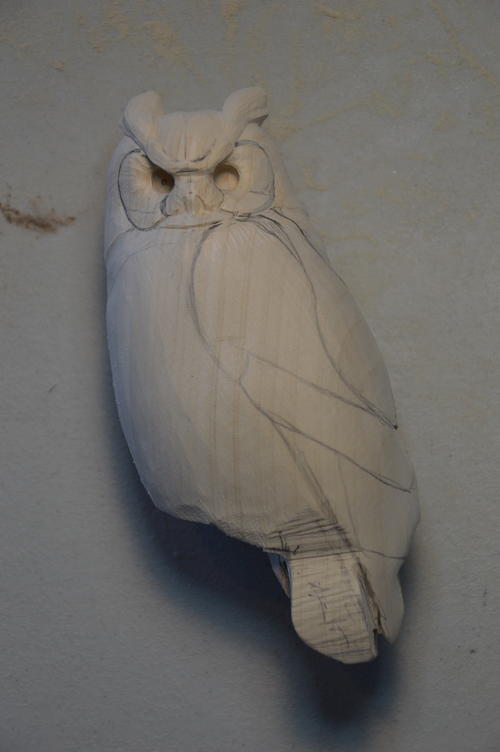
Now I’ve sketched on the complete face. You can see that the centerline for the eyes is where the beak enters the skull.
-
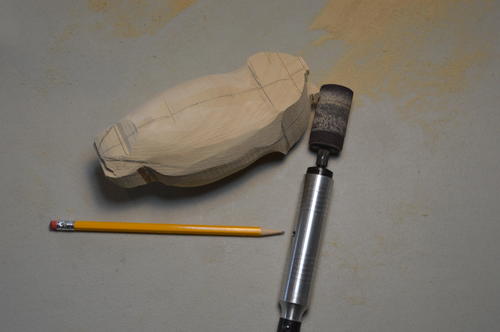
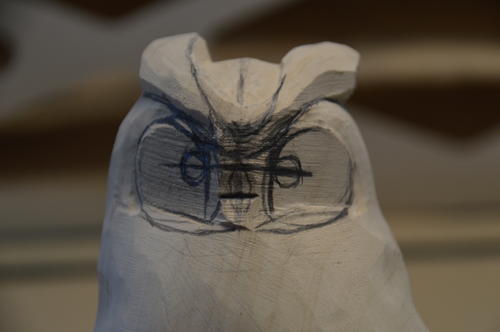
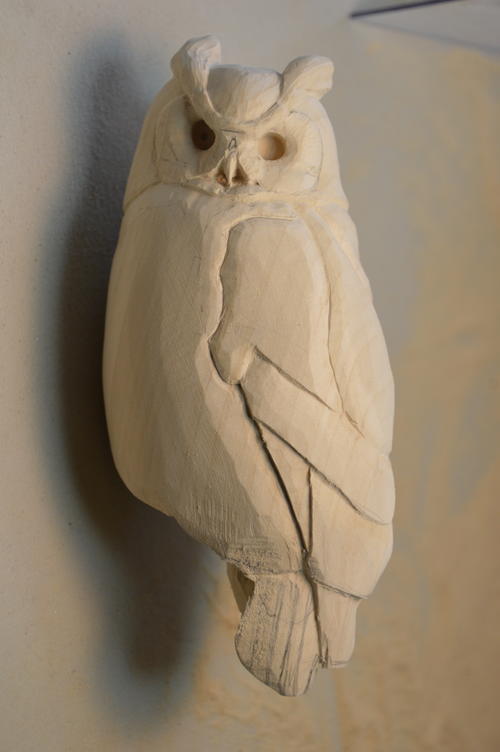
These two images show my progress roughing in the head and face. I use a fine 4 mm ball for this. There’s still a lot of work to be done, but you can now see the owl in the wood.
-
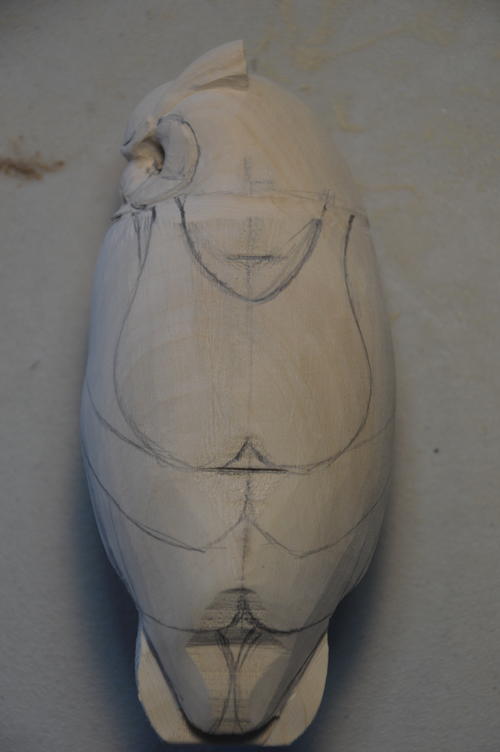
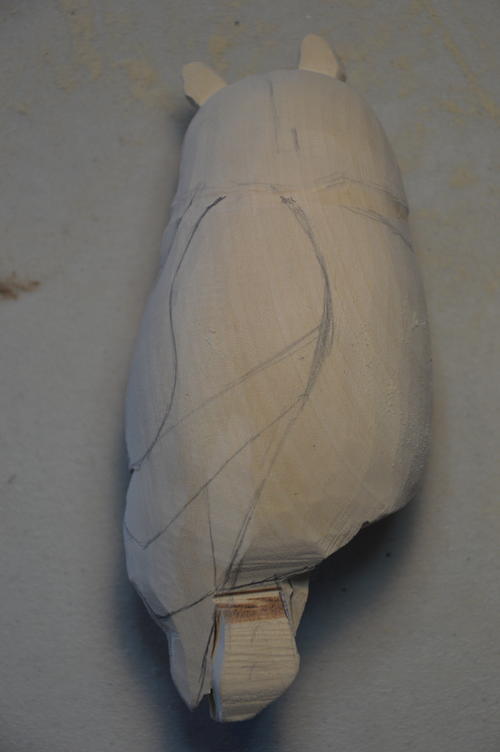
I’ve finished rounding the entire body, using the fine sanding drum. I can now pencil in all the feather groups.
-
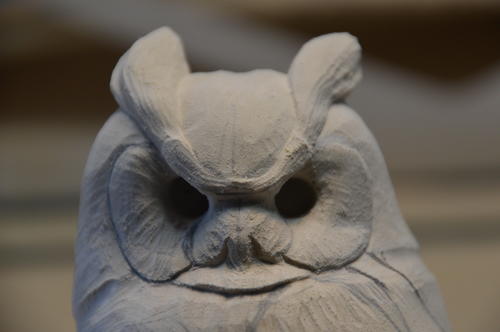
Using both the 4 mm fine ball and a fine-pointed flame, I do further work on the face.
-
I switch over to a fine diamond cylinder and cut in all the major feather groups.
-
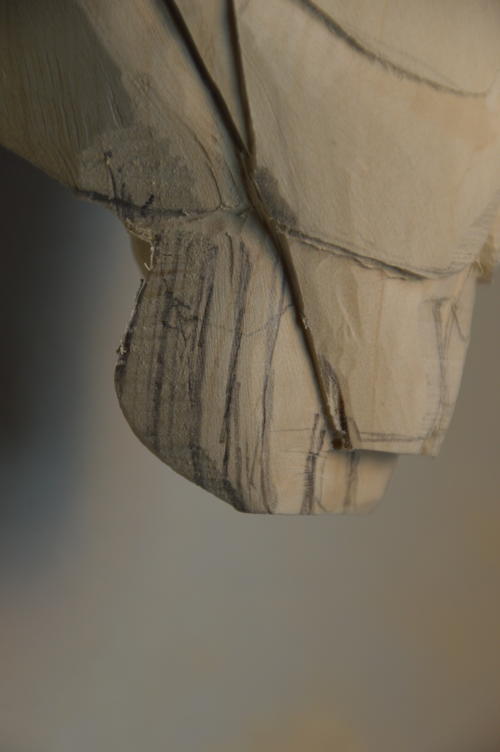
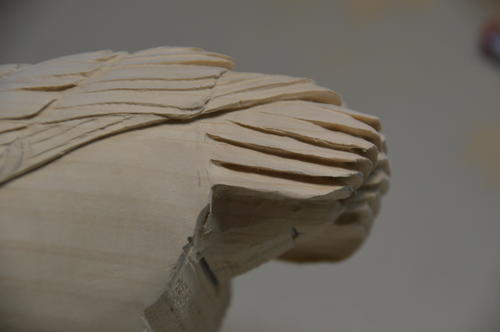
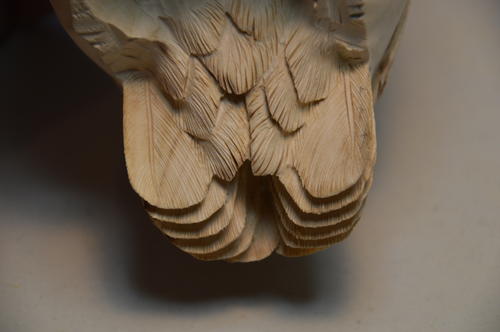
This close-up of the tail shows how I’ve sketched on the feather layout here.
-
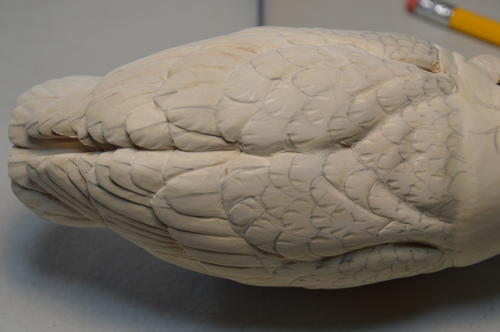
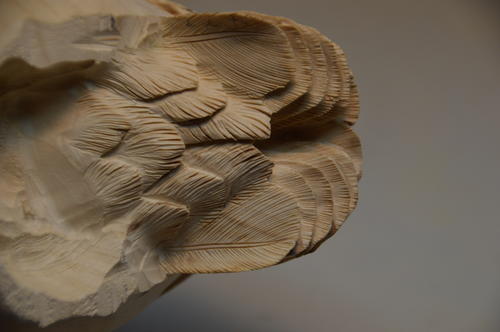
I’ve cut in the major flight feathers—the tail, primaries, secondaries, and secondary coverts. I use the fine diamond cylinder.
-
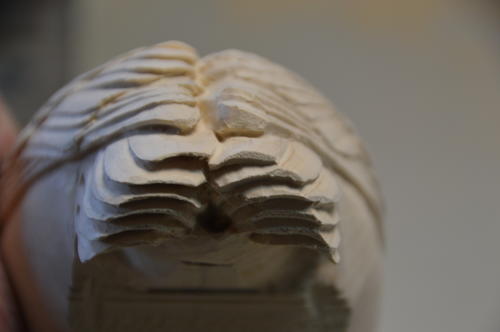
I return to the tail and start to cut it in. I start with the fine diamond cylinder, and I do the layering (undercutting) with a fine diamond pointed flame.
-
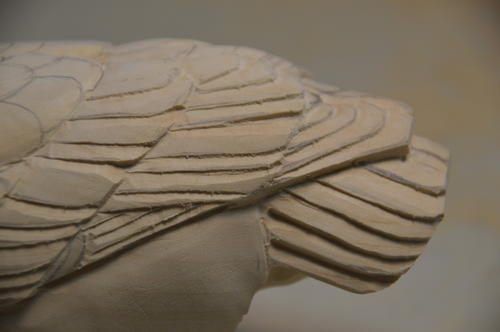
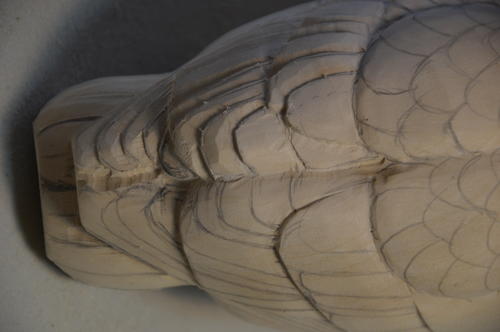
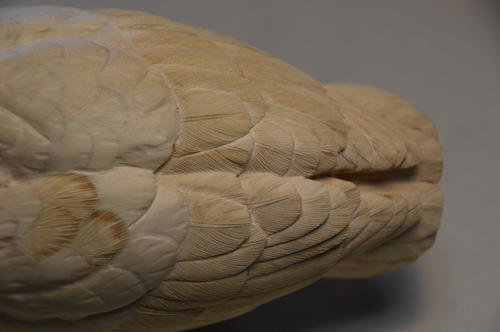
The primaries, secondaries, secondary coverts, and tertials are cut in.
-
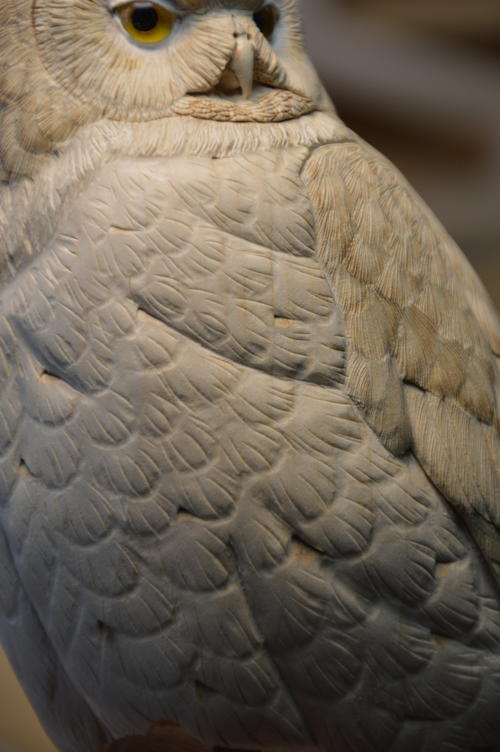
I now clean up and sand the entire owl, using 400-grit sandpaper. I have drawn on the scapulars, cape, upper marginal, and alula feathers.
-
With a medium and small burnishing ball, I add irregular waves to each feather, creating feather flow.
-
Now I draw on the head feathers.
-
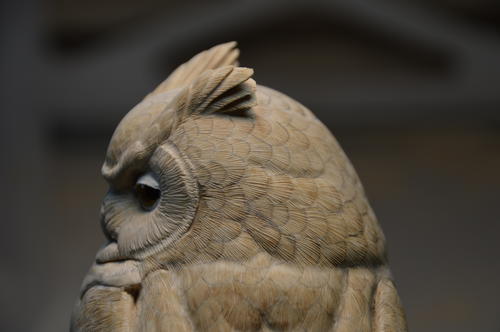
This series of photos shows how I textured the facial disk with a red ceramic stick, defined the ear tufts with the fine diamond pointed flame, and burnished the feathers on the back of the head.
-
I burn in the major flight feathers (tail, primaries, secondaries, secondary coverts, and tertials) from the shaft outward. Notice the nice, gentle arc in each burn line.
-
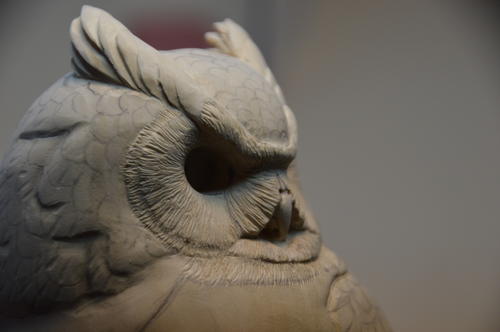
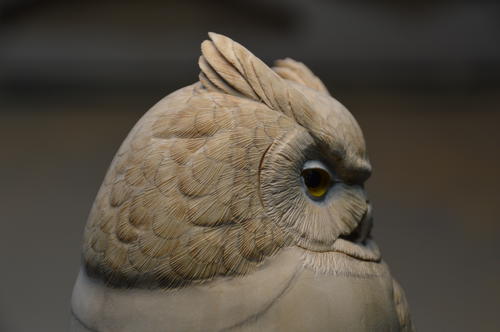
For the head feathers, I burn in the opposite direction from the flight feathers, going from the outside in. I have also set the eyes, using AB two-part plumber’s putty.
-
Here’s an overall view of the burning I’ve done up to this point.
-
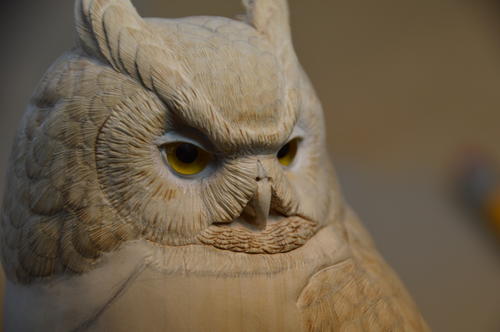
This close-up of the face shows the fine burning of the bib area underneath the beak, as well as the short, fine burn lines in the facial disk, brow area, and mustache.
-
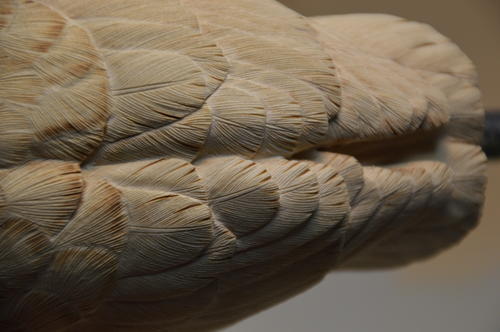
On the under-tail coverts, I stone the area first with a ceramic stick, and then I burn.
-
I treat the chest, breast, and belly areas a little differently. I slightly lower the edges of each feather and then finely sand the entire area with 400-grit sandpaper. After sanding, I slightly burnish each feather with the burnishing ball. After burnishing, I burn in three to seven burn lines, creating feather flow. Then I sand again, this time with 600-grit sandpaper.
-
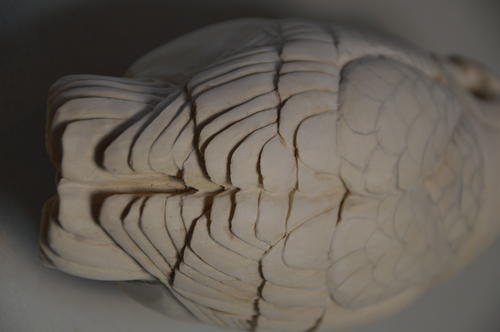
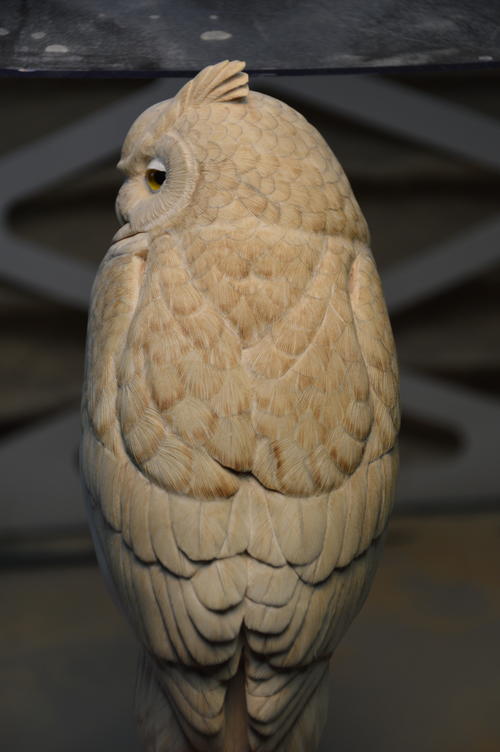
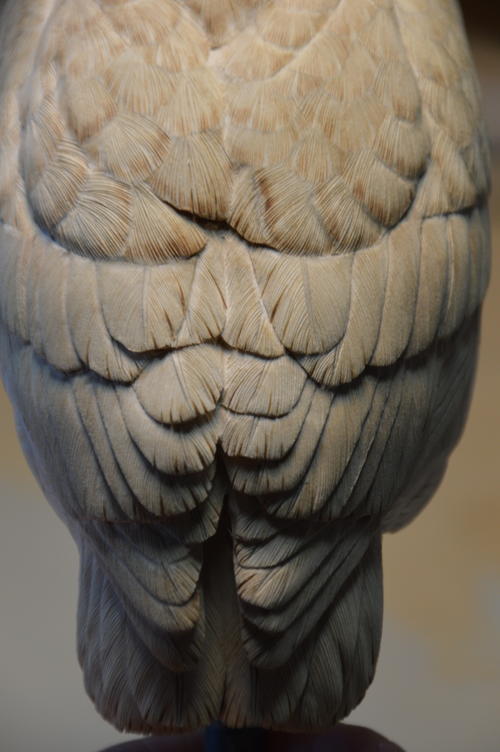
In these views of the back and tail, you can see how I’ve burned in some feather splits, trying to keep them random.
-
The owl is now ready for painting, which I will demonstrate in part two.


Pattern
-
Pattern outline
Share This Article
YOUR RECENTLY VIEWED ARTICLES

Free tutorials, expert tips, exclusive partner offers, and more straight to your inbox!
Thanks for your comment. Don't forget to share!
Cheryl Y
![]()
![]()
![]()
![]()
![]()
Aug 10, 2016
Oh how I love this Great Horned Owl in Miniature-Carving. I have never used hand power tools for my carving and wonder if I can still do this with just hand carving tools? I know it will take longer to carve out the areas you used the sander on, but hope it will come out. Thank you for the pictures they will help me greatly while doing this carving. I have always loved bird carvings but have only done flat ones on plaques, I'm looking forward to tying the 3-d bird.. Thank you again for this free how to!
Report Inappropriate Comment
Are you sure you would like to report this comment? It will be flagged for our moderators to take action.
Thank you for taking the time to improve the content on our site.
