The Black-billed Magpie Part Three: Feet and Habitat
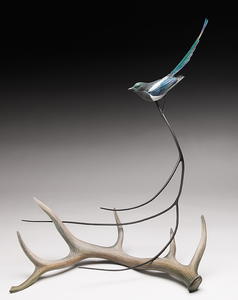
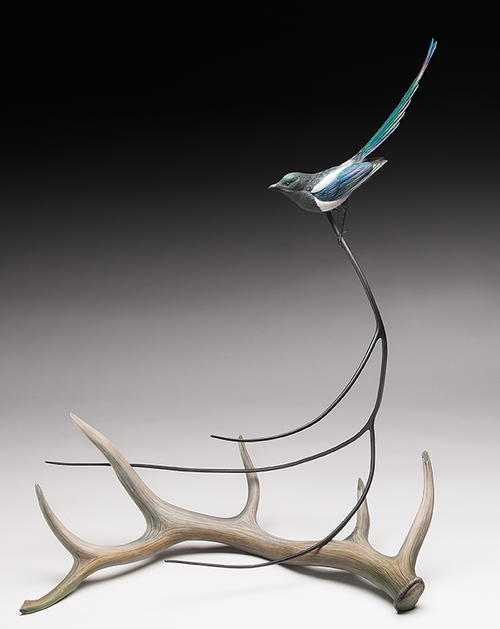
An antler, a branch, and some claws to grip it complete the piece.
When this project began, I did not have a final vision of the completed sculpture, so I had to decide how to incorporate the magpie into some form of composition. Since the pose suggests a bird that has just landed, or is about to move forward, I had an idea that perhaps something had caught its keen eye and motivated it to descend through the branches to investigate. Magpies are common scavengers in many areas with elk, so it seemed a natural fit to have this bird checking out an antler it spotted.
Now that I had the idea, I still had to design a composition. I began with several simple sketches to get a feel for whether or not the proportions made sense. Then I needed to see how the ideas would translate into a three-dimensional design. I first roughed out the antler, then twisted some coat hanger wire together to form a crude model of a branch. I spent hours repositioning the bird, branch, and antler, until things looked balanced from every angle. I finally settled on a strong triangular composition made up entirely of arcs and “S” curves. The branches sweep down and forward, much like the bird, and the antler’s tines curve up and in toward the sculpture’s center. The upper section of the branch actually creates a mirror image of the bird’s shape.
One advantage to working on miniature pieces is that the scale gives you a bit more freedom in design. For instance, this sculpture will easily fit on a shelf, but if it were life-size, it would be more than four feet tall.
I decided to keep the branch simple and stylized so it would not distract from the bird or antler. The curved lines would be of more value than realistic bark or buds. However, I decided to detail the antler so it looked like one that had sat on the ground for a few years after being shed. I wanted it to look like it had been tucked away in a mossy, shaded area. I added a lot of shadowing and some green staining that would also work well with the colors and mood of the bird’s paint job.
A bird’s feet are very expressive and can make or break the carving, as much as the eyes and head. Take any opportunity you can to study foot structure and learn how each toe articulates and how the bird uses its feet. I like to use Bondo auto body filler to build up my bird feet, then shape them in a stock removal manner, rather than using epoxy to model the details. No matter how you build the feet, the key is getting them to look bony and knuckled, rather than smooth or curved. I spend a good amount of time balancing the bird on the perch, shaping and positioning each toe so that they all look as natural as possible.
Jean Minaudier’s black-billed magpie won best of show, open, at the 2015 Prairie Canada Carving Championship. Photograph by Richard Gwizdak.
Read NextEastern Bluebird, Part One